
Sashiko on Technique Tuesday!

Tuesday, April 16, 2013


Sashiko is a running stitch that was used in Japan and China as reinforcement stitches for high wear areas of clothing - elbow, knees, etc.

Overall Thoughts

This is my first attempt at sashiko.  I've decided to start with a preprinted panel just to see if I'd enjoy it.  I'm not even done with this first piece and I can already tell you this is something I'm really enjoying.  It's very relaxing.  I can see many applications for this technique in many of my quilting projects.  It's also not difficult.  You're using a running stitch which most of you will be familiar with.  The complexity will come from the pattern you choose to stitch.  I'm about 1/2 way done with the panel you'll see below.  I'll post the completed panel Friday.

Materials

  • Cotton or Linen - While most recommend a looser weave, you can test the fabric using the sashiko needle and see if you're comfortable working with the combination for an entire piece.  Alternatively, you can purchase a preprinted panel to work from.
  • Sashiko Needles - Sashiko needles are larger than what we may be used to using.  The eye is large to accommodate the sashiko thread.  They come in different lengths.  You should try a few to see what works best for you. 
  • Sashiko Thread - This is a soft thread.  The one I am using has 6 twisted threads sets.  Each set is heavier that  average quilting thread.  Handle your thread very carefully.  I made a big, hot mess of my thread and am having to deal with the consequences.  When you open it up and lay it out, one side of the thread loop has a small thread wrapped around it.  If you hold this point, and pull the thread up off the table, it will open out nicely.  Then you can cut it into lengths.
  • Thimble - I'd recommend a leather thimble.

Directions

1. Thread and knot your needle.
Use whatever method you're most comfortable with.  I loop the end around my index finger 1 1/2 times.  Then I roll it off with my thumb and pull it tight to create a knot.  It's not the prettiest or neatest not, but it works for me.

a. Loop 1/2 x's
b. Roll off thumb
c. Pull knot


2. Choose your starting point.
Start by choosing the longest stabilizing line.  My panel has a grid on it so I am working from the center out.  You'll want to start with the straight lines and then move to any curved lines.

3. Insert your needle from wrong side of fabric.
Start from the wrong side of the panel and push your needle through to the right side starting at the beginning of the marked line.

Insert from wrong side


4. Take several running stitches.
Using the pattern marking as a guide, take several running stitches.  Be sure to cover the marked areas with your thread and move back down to the underside in the areas with no marking.

Take several running stitches

5. Continue straight line running stitches.
You may have noticed in the picture above that the needle comes back up on the other side of the dragonfly's wing.  As you're traveling along, be sure you travel underneath pattern areas to continue your line.


Some thoughts on how to do the stitches…
I have found the quickest and easiest way to do this is to scrunch the fabric in my left hand and stab through the fabric with the needle in my right, rocking the fabric as I go.  These shouldn't be tight stitches either.  They should lay gently on the fabric.

Rock & Load


6. Pull the fabric to settle the stitches.
You'll have to gently tug the fabric in the direction of the stitches to settle them into place.

Before gentle tug
After gentle tug


Continue in this way until you have completed all the straight lines in your piece.

7. Stitch curved lines.
You'll stitch these lines in the same way you've stitched the curved lines.  You may want to switch to one of the shorter needles - personal preference rules here.

Keep In Mind

Once you're piece is completely stitched you can use it for whatever you'd like.  In parts of Japan, they're used as dust rags!

I'll be using mine for a quilted wall hanging.  I'm going to add a border.  Then I'll be using a matching thread to stitch a dense filler design all over, except for the dragonflies.  I want them to really pop up off the surface.  I'll likely use two layers of batting to make sure it's pronounced.

I have seen the knotted ends left floating at the edge of the pattern as a design element.  In my project it would be at the end of each grid line.  In that case, you'd want to use a cute little knot or maybe a knot with a short tail.

Indigo bleeds so wash it separately after you finish the stitches.  You may want to use a color catcher or a cup of vinegar.  If it bleeds onto your thread, this is characteristic of traditional sashiko and isn't necessarily a bad thing. Again, personal preference rules here.

Quilt. Create. Enjoy!

Anna

Add a comment »

It's a Brave New World!

Monday, April 15, 2013

You may have noticed after Easter I stepped away from the blog for two weeks.  I was trying to find my writing voice.  I want this blog to be more than just show and tell.  I want to share - quilting designs, patterns, projects, techniques, and even the occasional show and tell.

Here's how it's going to work.

Motif Monday - I'll be sharing quilting motifs.  Some will be free motion and some will require marking.  For each new quilting motif I share, I'll also include a variation.

Technique Tuesday - I'll be sharing a different technique.  In some cases I'll be learning them and in other cases it will be a technique I've used for years.

Thoroughly Modern Thursday - I'll be sharing my take on modern quilting.  I'll share some of my own patterns and designs, as well as, some that I've stumbled across.

Free-Form Friday - I'll be sharing whatever I'm in the mood to share.  Maybe it's a show and tell of my FMQ for the week.  Maybe I'll show my progress on a BOM I'm working on.  It just depends on what's going on that week.

Midnight Madness Weekends - This is going to be fun.

  • Midnight Saturday: The first Saturday of the month, I'll be posting a Block of the Month.  Subsequent Saturdays will be about sharing the finished block in 2 - 3 different fabric sets.  
  • Midnight Sunday: Every Sunday I'll share my favorite post of the week.  There are so many great quilt bloggers out there.  It can be hard to keep track of them all.  
I'm really looking forward to the new format.  Please chime in and let me know what you think.  If you'd like to see something, let me know.

Today was announcement day so I'll be starting the new format tomorrow.  I hope to see you tomorrow for Technique Tuesday!

Quilt. Create. Enjoy!

Anna

Add a comment »
Must Do's Done - On to Free Motion Feathers

Sunday, April 14, 2013

Hubby and I were able to get our must do's done by 2:30 so I had plenty of time for quilting!


Here's the result of Angela Walter's Free Motion Quilting with Feathers class.

X Marks the Spot
Free Motion Feathers

 I'll have to get the binding and label on in the next couple of days.

Quilt. Create. Enjoy!

Anna

1 Comment »

Quick Mini Label

Not sure how much quilting I'll be getting done today.  We've got a bunch of must do's scheduled.

I took Angela Walter's Free Motion Quilting with Feathers over at Craftsy.  I loved it!  I went to bed thinking about feathers and woke up thinking about feathers.  I can't wait to get to my practice piece.

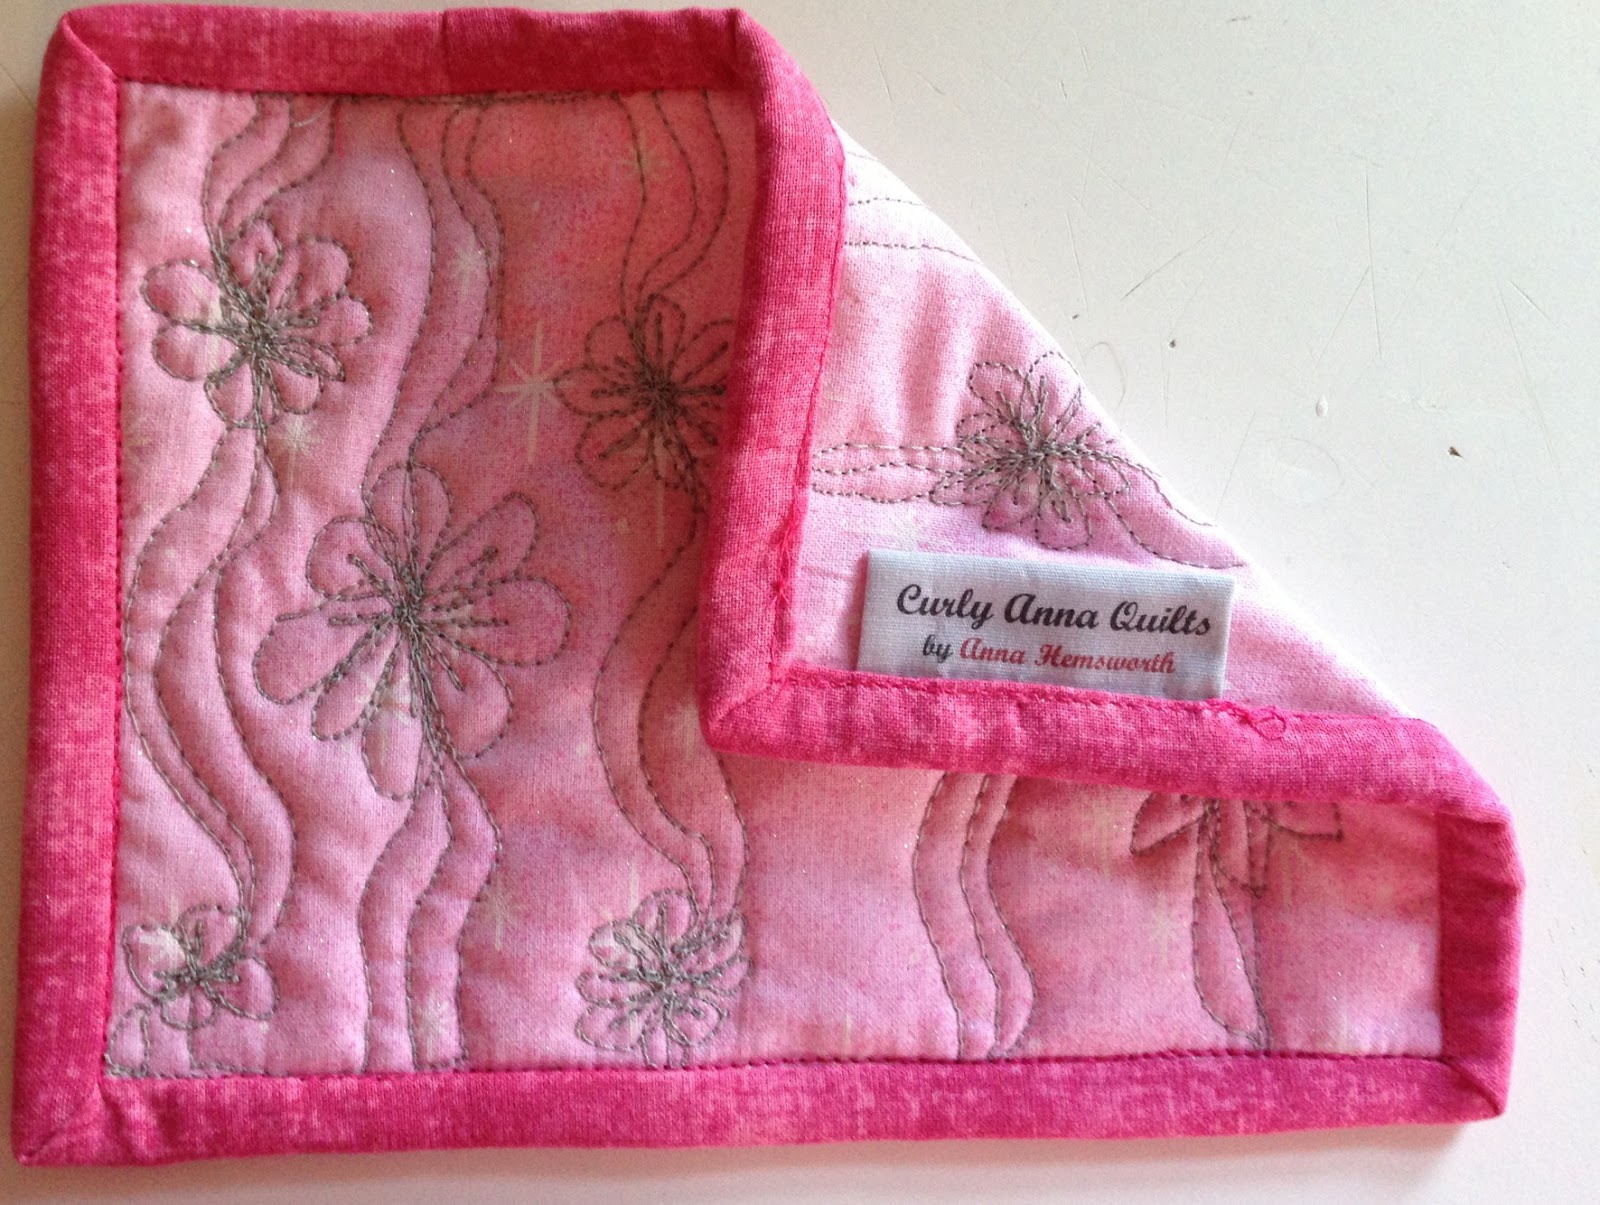
Rather than rushing through a feathers practice piece this morning, I finished up the little pink practice piece I'd posted earlier.  In line with my finish everything with a binding & label, I added the binding and made these cute little labels.  This little pink practice piece is about 5" x 7", so the usual label seemed like overkill.  I'd remembered seeing this on someone's blog.  They'd had them mass produced.  I figured I could do it only home printer so I decided to give it a try.  I think it looks really cute.  I'm very happy with how it came out.  Now I have another little mug rug.


I made these using 4" x 6" photo fabric on my home printer and Avery's online printing tool.

Here's hoping my must do's don't take as long as expected.

Quilt.  Create.  Enjoy!

Anna

1 Comment »

What I've Been Up To...

Saturday, April 13, 2013

I've been very busy...Shopping!

My friend Marie & I had a fabulous time on doing our own Private NJ Shop Hop.  We visited some great stores and made some great buys.

Here's the list of fabulous store we went to:

  1. Budding Star Quilts
  2. Pennington Quilt Works
  3. Olde City Quilts
  4. The Village Quilter
  5. The City Quilter
I thought it would be great to pick up 2-3 fat quarters from each shop so we could make a quilt to commemorate our day out and about.  Here's the collection I came away with.


I started with the 5th one from the right and then added from there.  I ended the day having purchased far more than I expected, but it was a great day.   We ended the day with cheesecake and milk shakes for dinner at the Cheesecake Factory.

I've also been practicing my free motion feathers.  I won't share any of my horrid practice pieces just yet.  I'm trying to find which method is most comfortable for me and results in beautiful feathers.  I decided to go back to basics and found Feathered Fibers has information on how to quilt various feathers.  What I found most useful would have to be the sheets to print out and just practice the shapes.  She has a few of them, so if you need help with your free motion feathers you may find them useful. Here are the sheets I've been drawing so far.


I just flipped the paper over and started drawing on the other side to continue my practice.  I'm also going to watch Leah Day's Feather pattern videos before I start.  I'll be moving to a practice scrap on the machine today.  Wish me luck!

Quilt. Create. Enjoy!

Anna


1 Comment »
Powered by Blogger.